

Prerequisites
Before you start, make sure you have the following:
- A Vercel account.
- A PostgreSQL database instance (you can use services like Neon or Heroku Postgres).
- Basic knowledge of Git and command-line usage.
Step 1: Fork the Umami Repository
- Go to the Umami GitHub repository: Visit the Umami repository.
- Fork the repository: Click the Fork button in the upper right corner of the page to create a copy of the Umami repository under your GitHub account.
Step 2: Create a PostgreSQL Database
Next, create a PostgreSQL database instance:
- Sign up for a PostgreSQL service (like ElephantSQL).
- Create a new database instance.
- After the instance is created, note down the connection URL, which will look something like this
postgres://user:password@hostname:port/database
Step 3: Deploy to Vercel
Now, let’s deploy your forked Umami project to Vercel:
- Go to the Vercel dashboard: Visit Vercel.
- Click on "New Project": In your Vercel dashboard, click on the "New Project" button.
- Import your GitHub repository: Connect your GitHub account if you haven’t already, and select your forked Umami repository from the list.
- Configure your deployment settings: Vercel will automatically detect the framework used. Click on "Deploy" to start the deployment process.
Step 4: Set Up Environment Variables in Vercel
After the deployment, you need to set up environment variables:
- Navigate to your Vercel project settings: Click on your project in the Vercel dashboard.
- Go to the "Settings" tab: Find the "Environment Variables" section.
- Add a new environment variable:
- Key:
DATABASE_URL - Value: Your PostgreSQL connection URL from Step 2.
- Save your changes.
Step 5: Finalize Your Deployment
- Vercel will automatically handle your deployment and initialize the necessary settings using the provided environment variables.
- After a few moments, your Umami instance will be live! You can find the URL for your Umami dashboard in the Vercel dashboard.
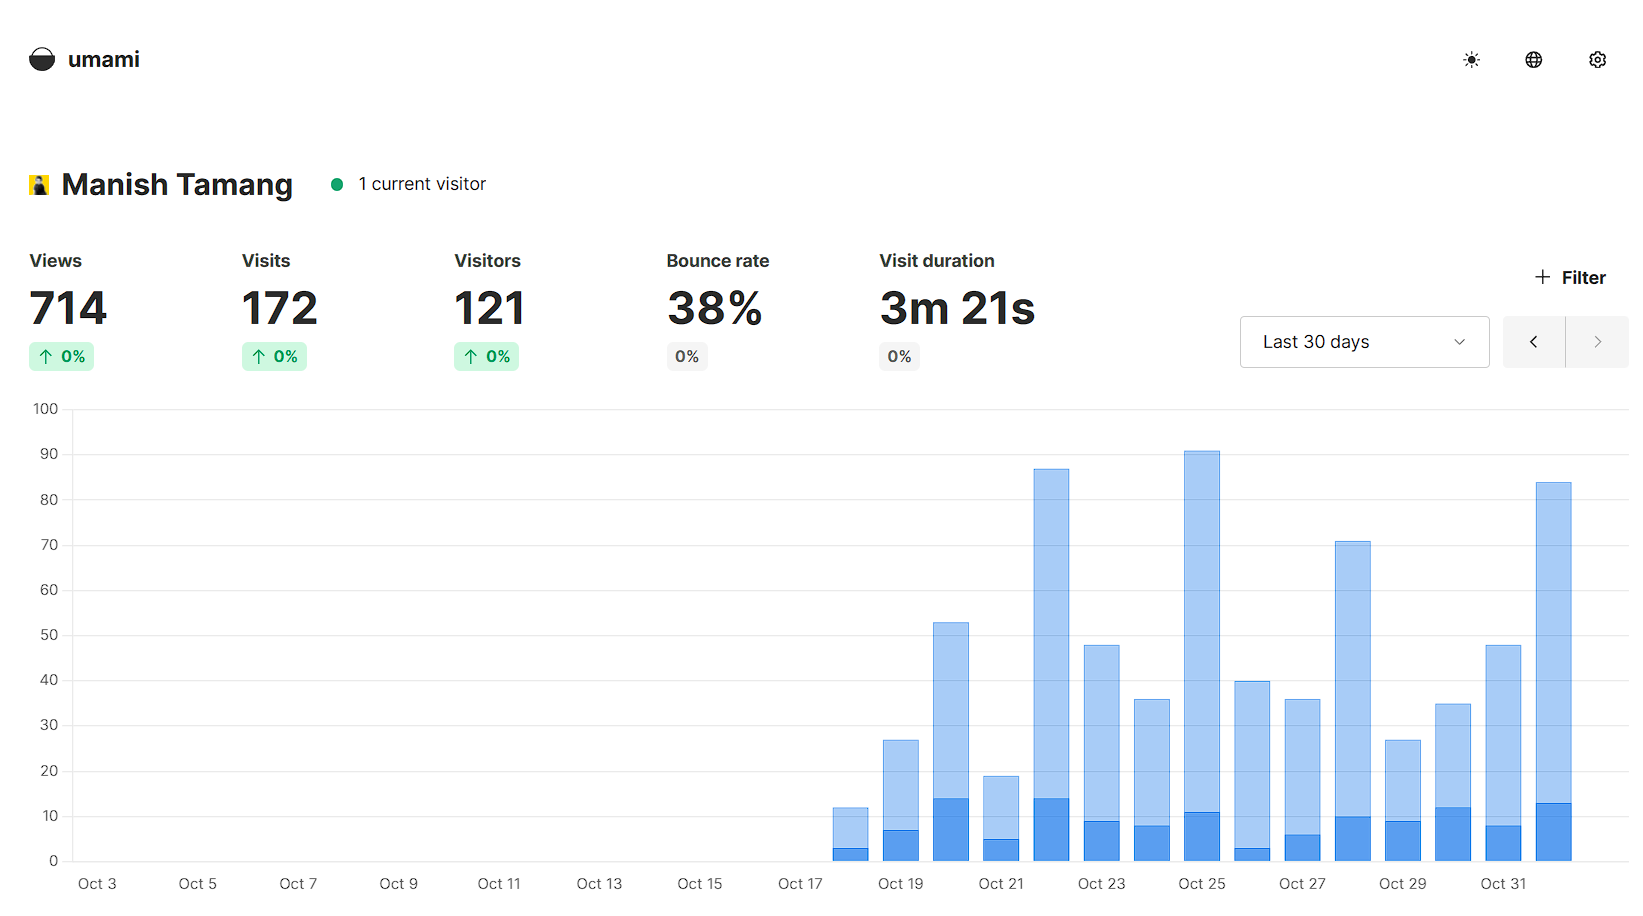
Step 6: Access Your Umami Dashboard
- Open your Umami dashboard: Navigate to the URL provided by Vercel after deployment.
- Create an admin user: For the first time, you’ll need to create an admin account by clicking on "Sign Up" and filling out the required information.
Conclusion
Congratulations! You have successfully self-hosted Umami on Vercel by forking the repository and connecting it to a PostgreSQL database without using the terminal. This setup provides you with a powerful analytics tool while maintaining full control over your data.
If you have any questions or run into issues, feel free to leave a comment below! Happy coding ❤️